
Last April, during the beginning stages of quarantine due to Covid, we enjoyed going out for drives to get out of the house. Little did we know that one of those drives would lead to us touring a model home, and ultimately deciding to build a new townhouse.
For the last six years, we’ve been living the apartment life. While we loved our apartment, we always hated the fact we couldn’t make it feel like our own. We were stuck with ugly cherry cabinetry, yellow/beige painted walls, and orange tinted linoleum faux wood flooring. (It was a little too much)
So as you might understand, it was exciting when we got to choose all those details when it was time to build our new home. For months while the build was happening, I spent a lot of time building a Trello board to better organize my ideas for the new place. The project list grew quickly.
The very first thing on that list? A fireplace. Unfortunately, due to the townhouse design, they do not include an option for a fireplace. There’s no way to add venting for a gas fireplace or a flume for a wood burning fireplace. The only option left was to install an electric fireplace. Yes, it wasn’t going to be as authentic as an actual flame, but from what I researched they could still look pretty real while still heating a room.
Luckily, I was able to get some measurements before we moved into our new place, so I was able to start designing what I wanted the fireplace to look like. Now I need to note that I’ve never designed or built a DIY fireplace before. So for me this was entering new territory.
I first starting by researching different styles of fireplaces. I took to Pinterest to get some ideas, and finally decided on a craftsman style fireplace that would fit with our townhomes aesthetic.
The next step was to find an electric fireplace insert that would fit our budget of $500, but still look as authentic as possible. For a while I struggled to decide on whether to pick a square insert that looked more traditional, or a long rectangular one that looked more modern.
What the decision ultimately came down to was the inserts depth. Since I was unable to recess the insert into the existing wall, the entire depth of the insert had to be covered by the surround I would build. For example, if the insert was 7 inches deep, compared to 9 inches then the surround depth would be much less. I did not want a bulky mantle taking up our living room, so I decided on the 7 inch deep insert which happened to be the more modern style.
Once I knew which insert we would use, I could then begin to design everything. I used a program called OnShape CAD to do all the designing. My engineering background made this part easy as I knew how to use the program. If you plan on designing one yourself, I’m sure pencil and paper would suffice.
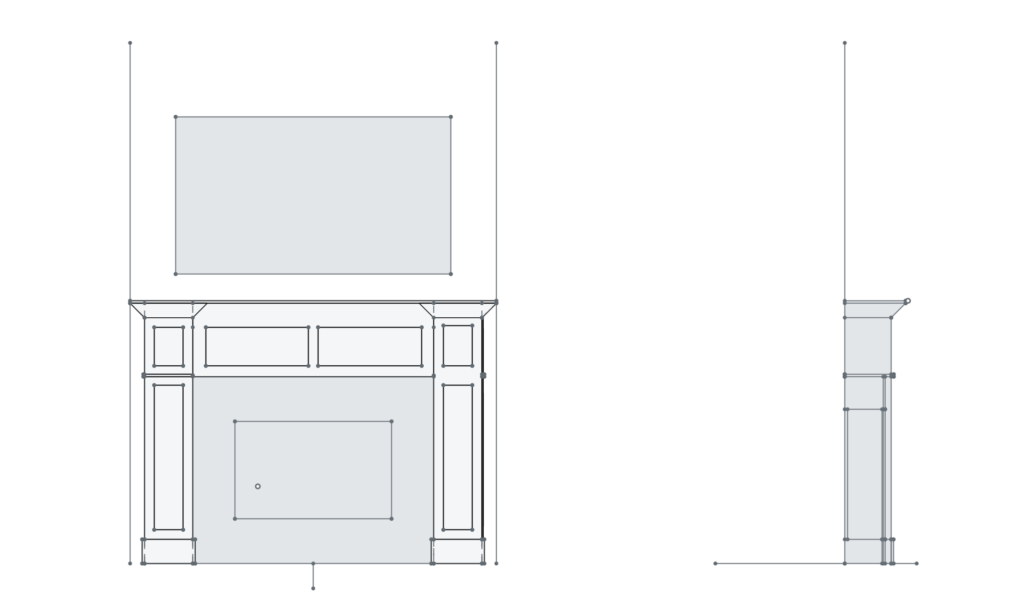
With the plans finalized, I could now start constructing the fireplace. I started with building support for the fireplace insert. For this I just used a few 2×4’s and screws.

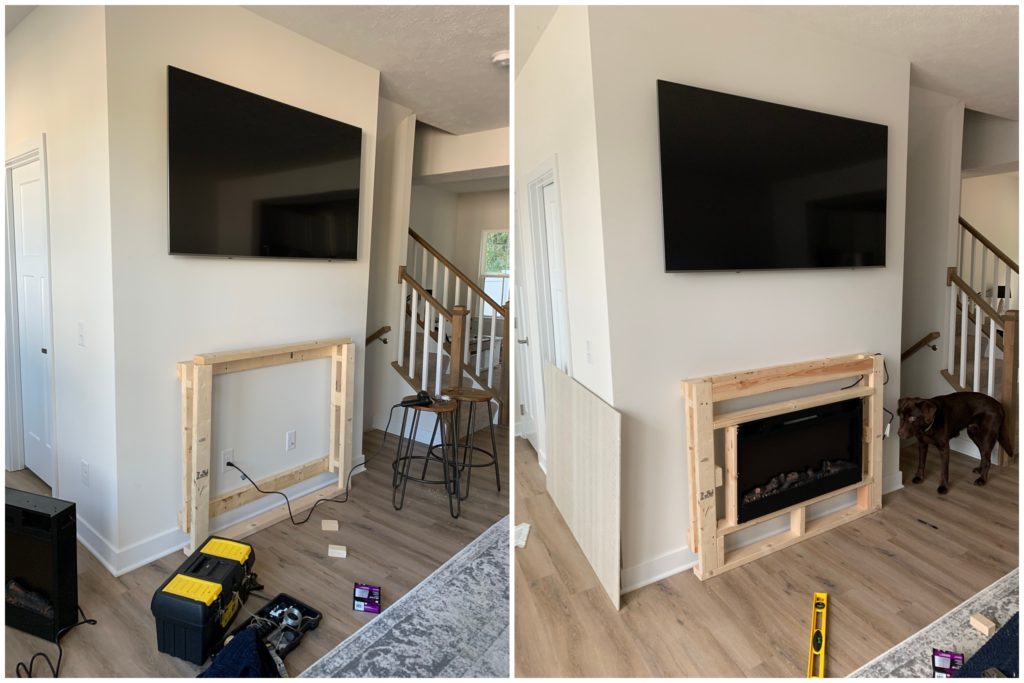
Once the support frame for the insert was complete, I then installed backer board to the frame. This would later serve as a surface to install a herringbone tile pattern.
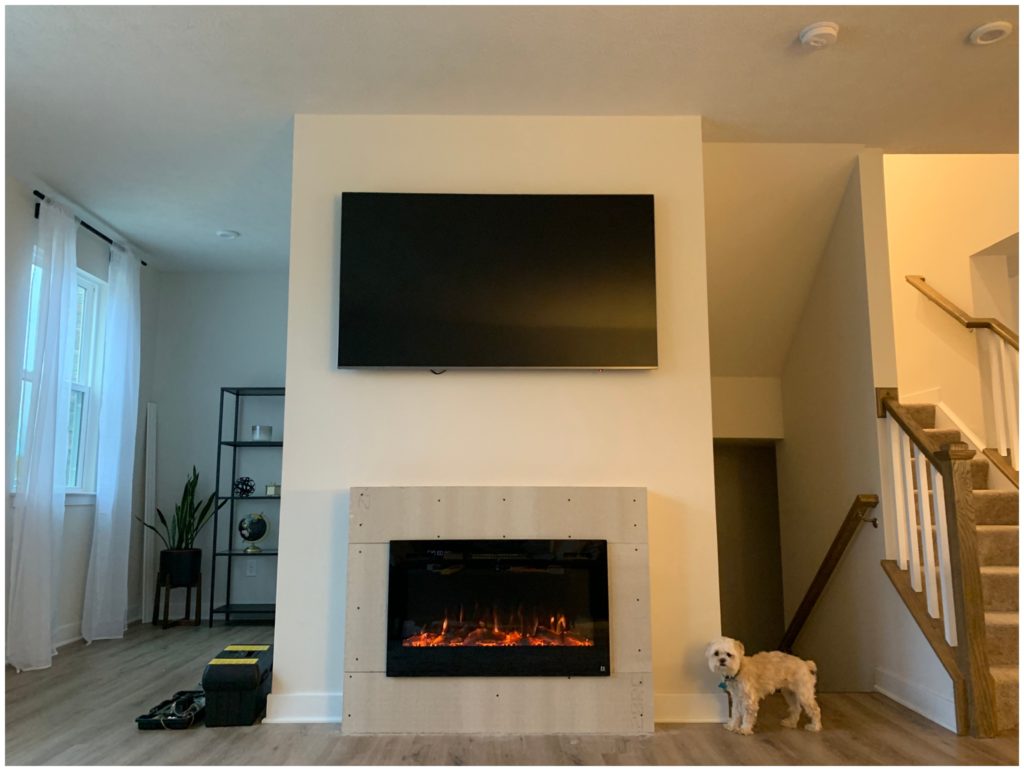
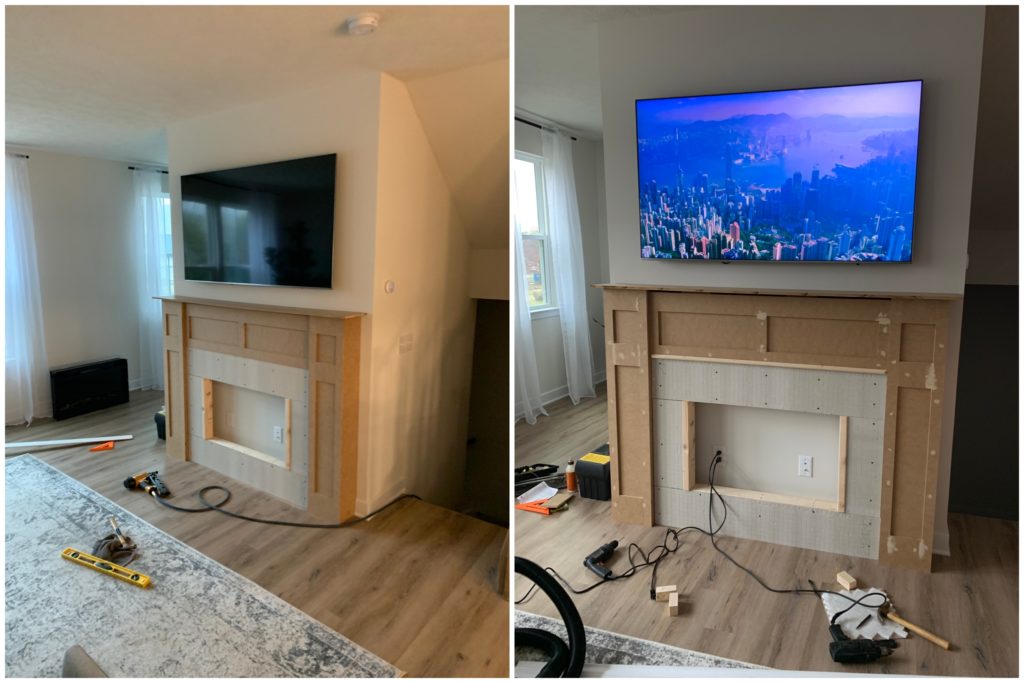
The next steps were to piece together the legs and apron of the fireplace.I used a 1/4″ thick MDF board for this. I pieced everything together with wood glue and nails.
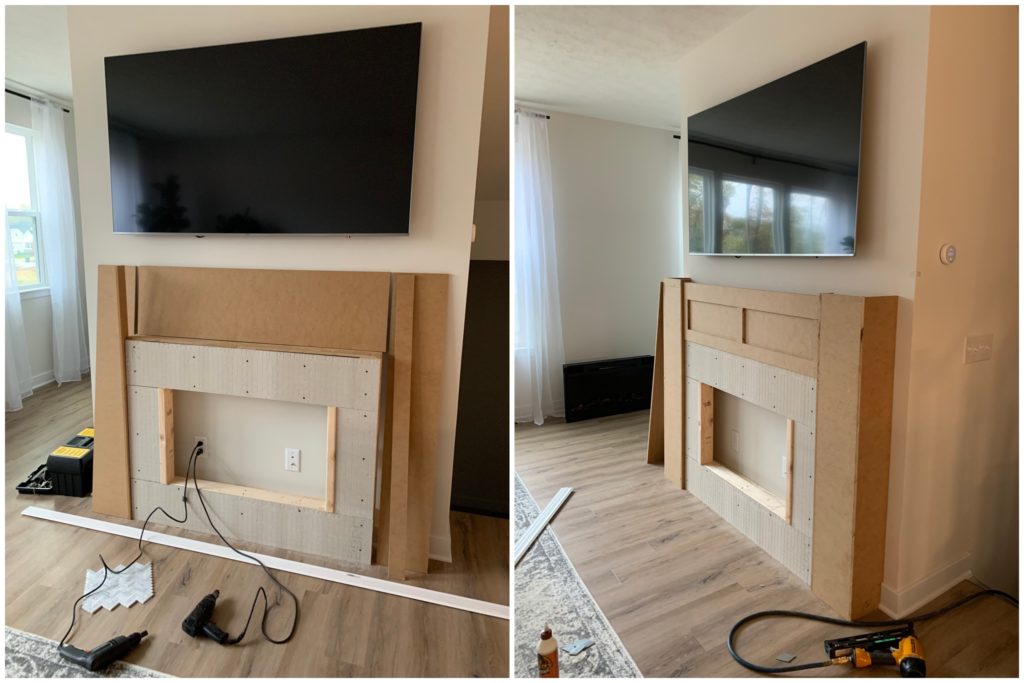
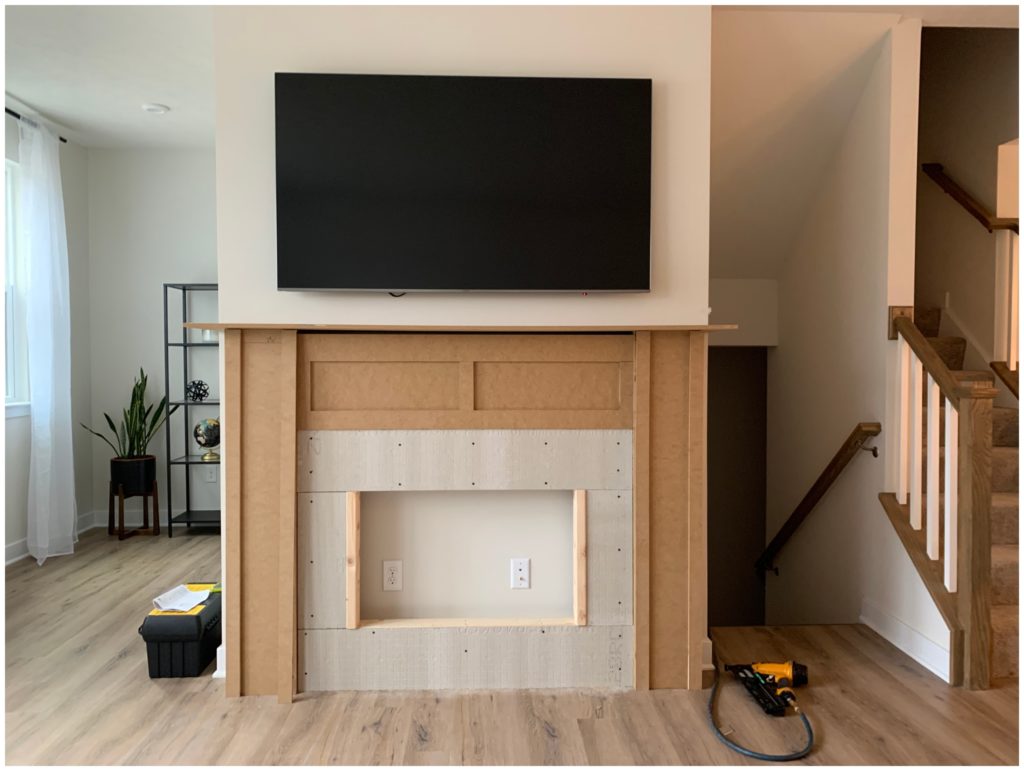
To ensure our DIY fireplace would have look seamless, I used wood filler putty to fill in the gaps. Once the putty cured, I sanded the surfaces.
Okay, this was the hardest part of the ENTIRE project. The tile I used was a white carrara marble herringbone. For a first time tile installer, I think I picked the hardest tile to cut and install! If you want to inflict real stress and pain upon yourself, rent a wet saw for 24 hours.
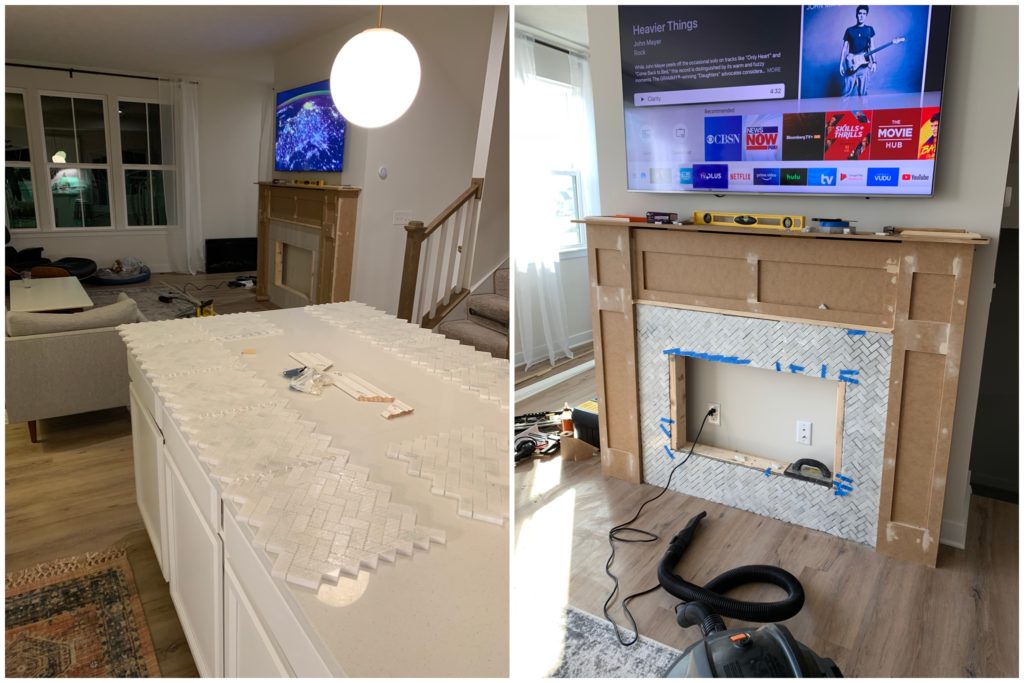
Another tip would be to use pre-mixed thin-set tile mortar. The stuff I used had to be mixed, and it was extremely difficult to work with.
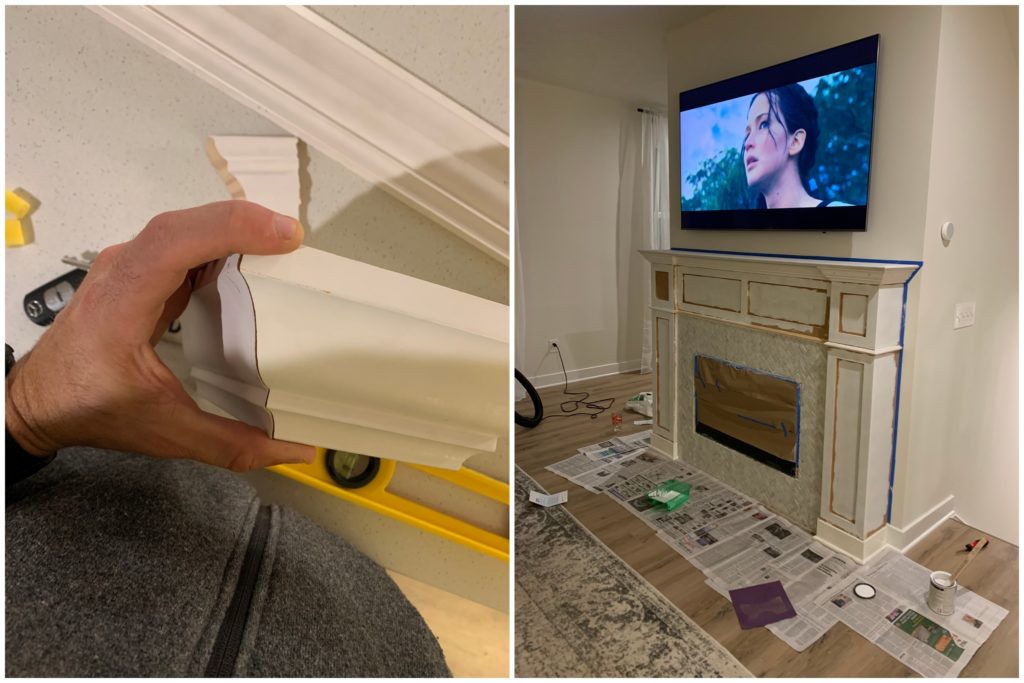
One way to enhance the look of our DIY fireplace build was to install decorative crown molding. This was another first for me. I made a few practice cuts and made a template so I would know how the molding should be oriented on the saw before cutting.
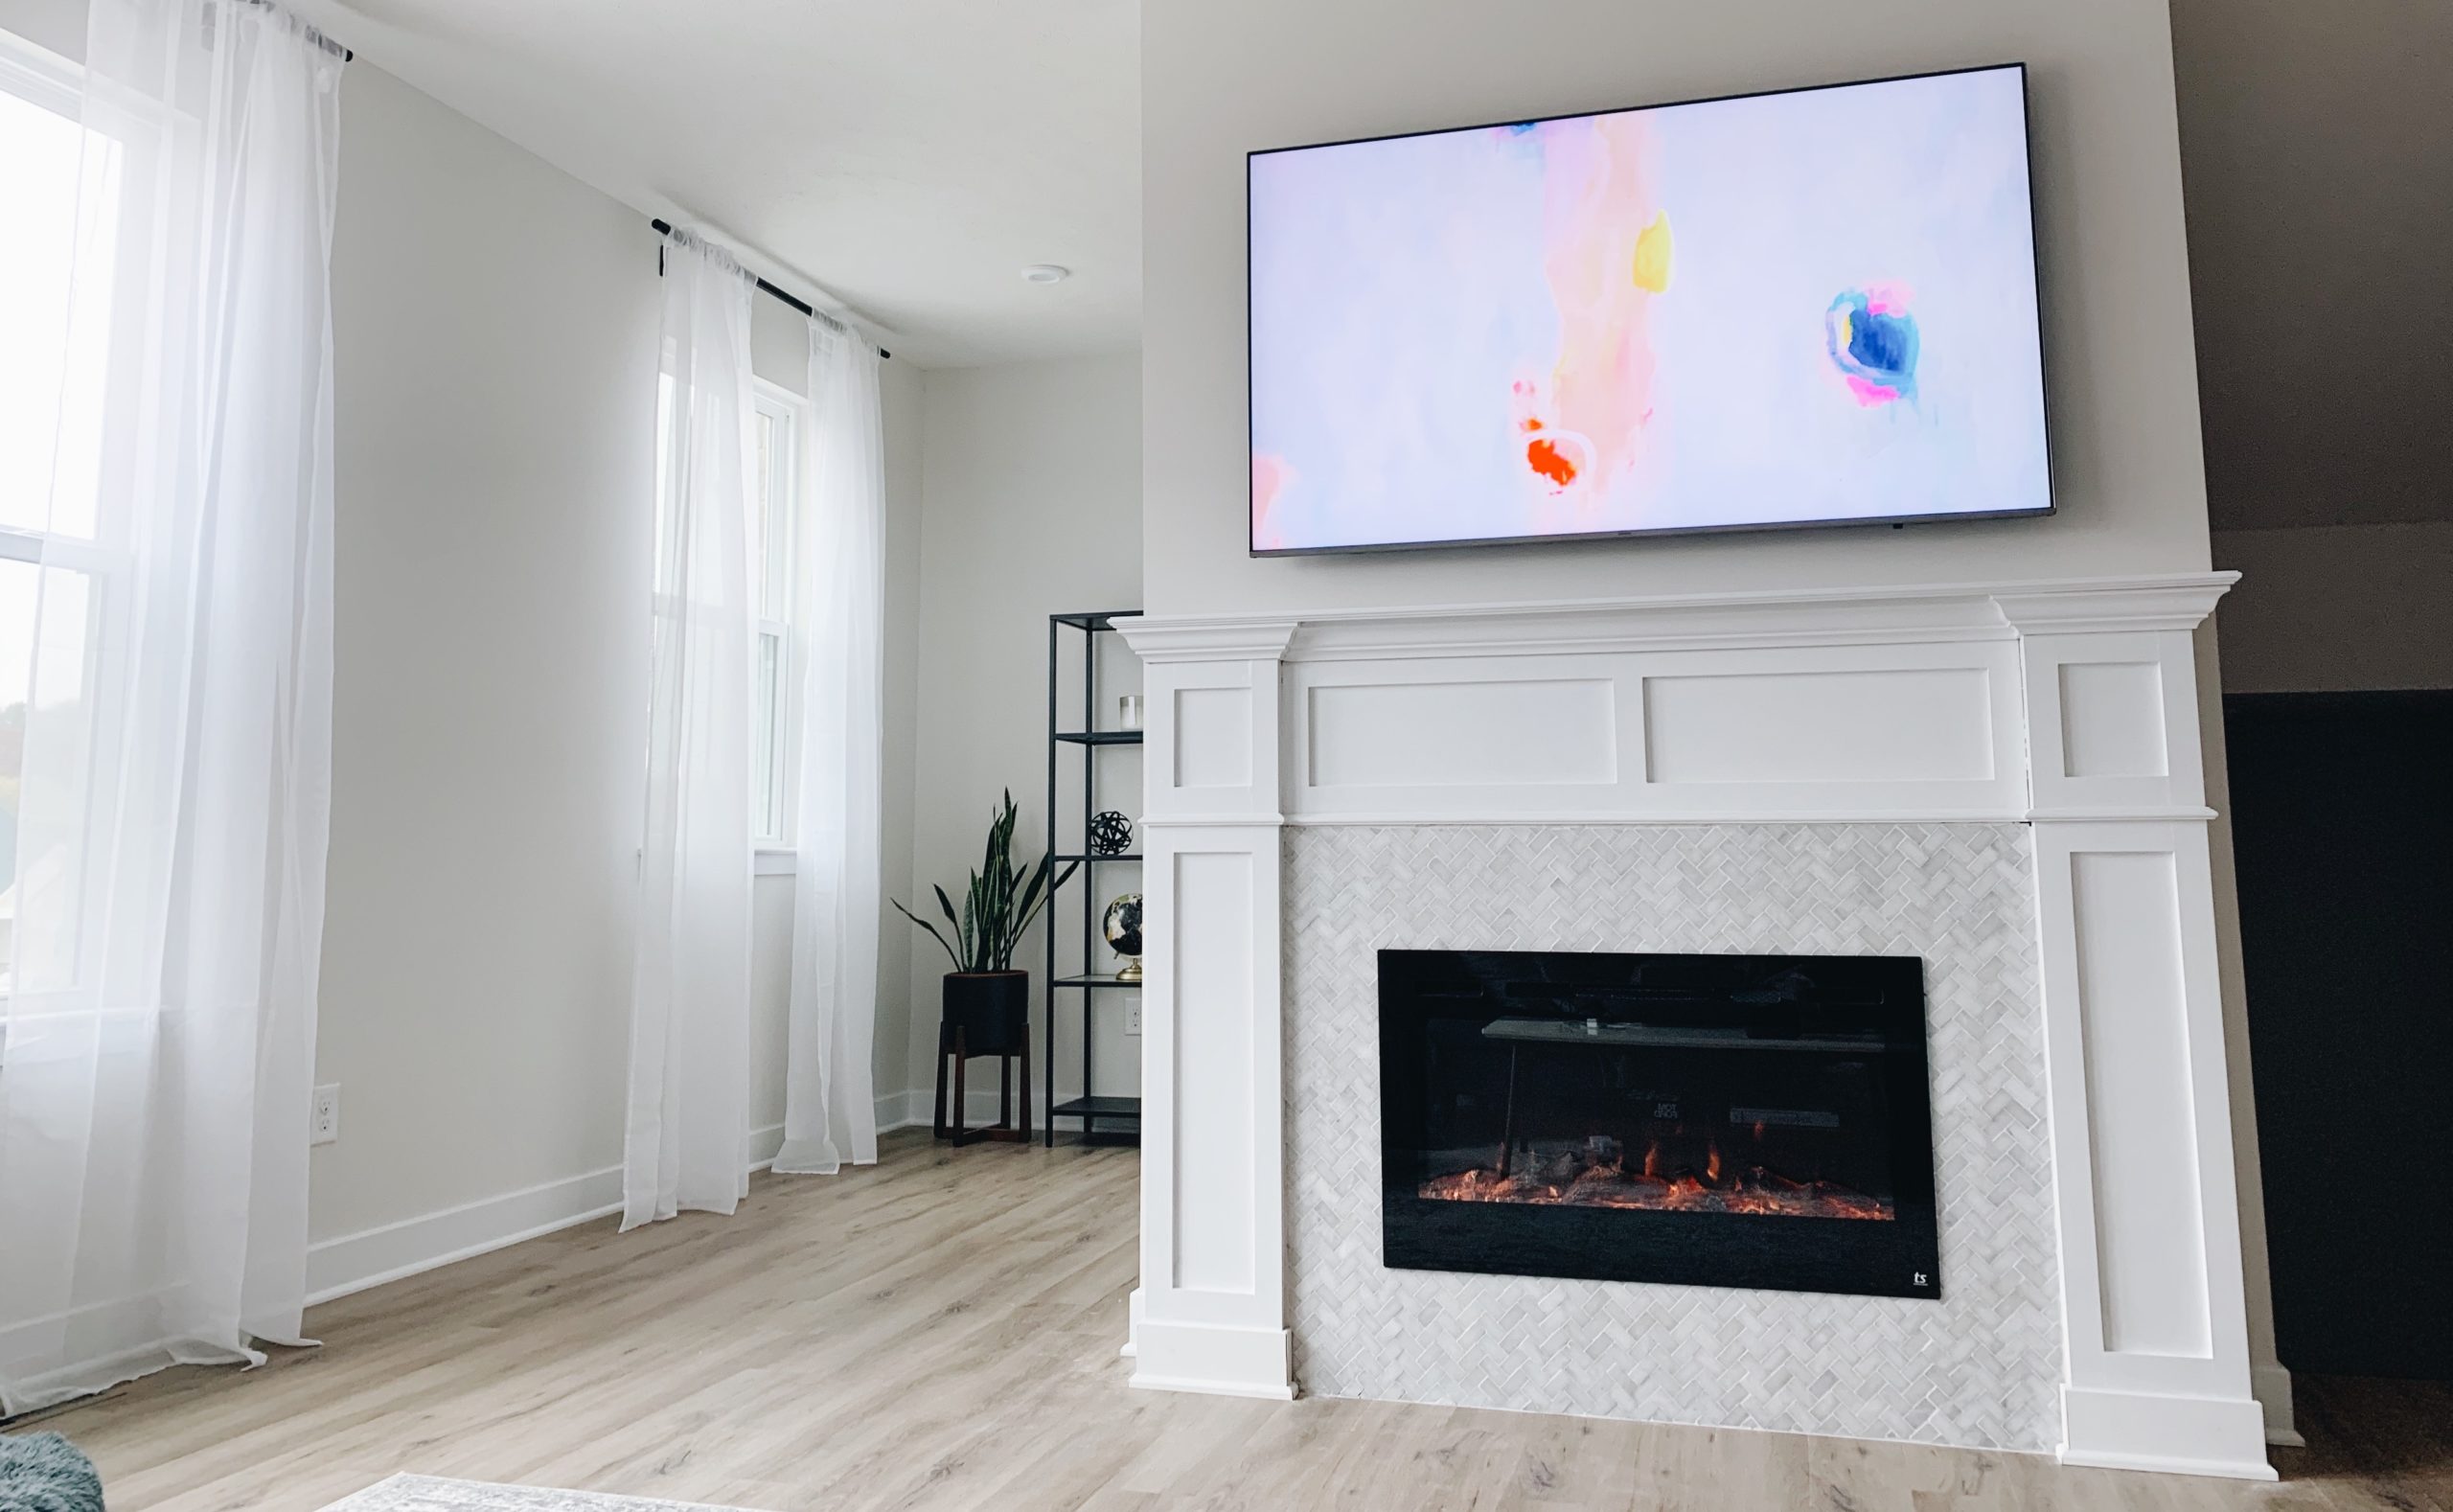
When all the molding and trim was installed I then a coat of primer and two coats of bright white paint!
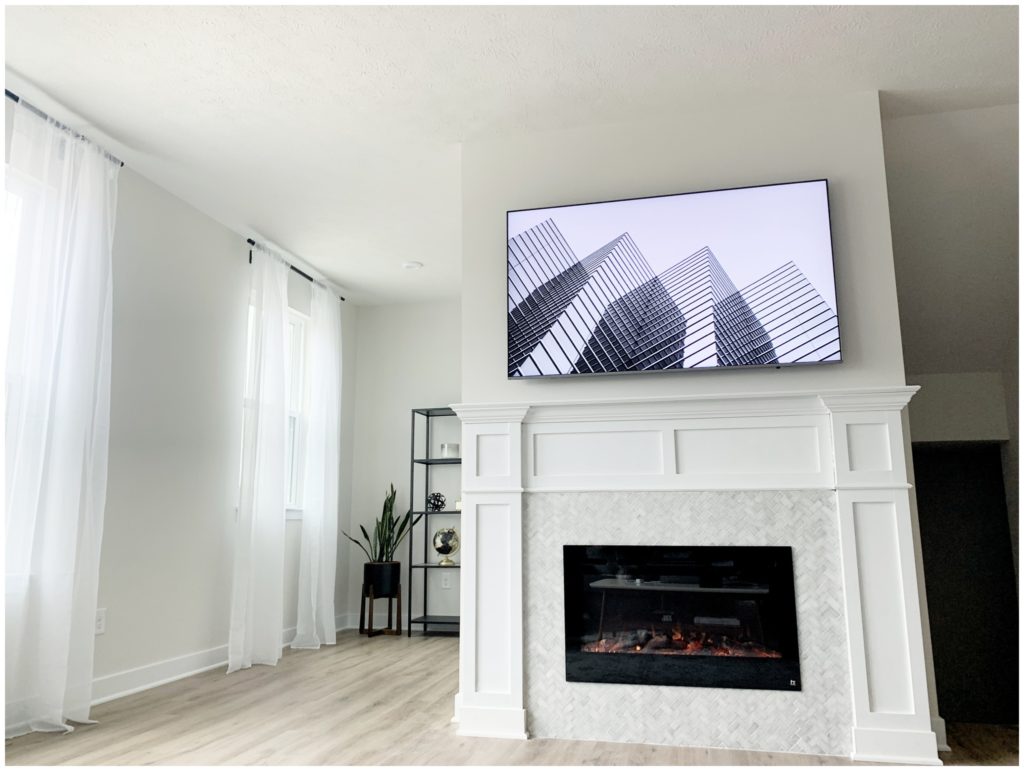

Let me know what you think or if you have any questions in the comments below! I’d love to know what you think! Or to view more house projects I’ve done, click here!
My DIY Craftsman Style Fireplace
January 18, 2021
CLOSE COMMENTS


comments
0
no.
SHARE THIS ON
share on